Time to make cards, so there's something for you to farm once the Temple of Seasons gets implemented! ;) 

In this post I'm gonna focus on the Mage card. You've probably seen the mages in one of our earlier posts over at the official dev blog, but here they are again in case you forgot!


To start off, I begin with opening a card template - that is, an empty frame the size of the cards in the game.  I then start to sketch on top of it, until I have one or a few designs I like:


Once I've shown the design(s) to Teddy and Fred, and we agree on the look, I bring the sketch into a new document, set transparency to something pretty low, and start painting on top of it. Pretty much the same thing as I did with the Hydra boss portrait the other day!


Once the line art is completed, I start coloring. As always, I block in the basic colors first, then add shades and highlights once the basics are in place:


Finally, I resize the image back to the original size and add a background. Since the enemies are found in the temple of seasons, I chose to use part of one of the temple rooms as the background for this card:


Next time, I'll show the card that the Season Knights will drop! Stay tuned :)
As you might have heard, we'll be exhibiting Secrets of Grindea over at Dreamhack Winter this weekend. Well, when I say we, it's not really true: Fred will be there representing, along with one of his brothers. Teddy and I will stay at home to keep working: we really want to finish the game sometime after all... :)

Anyway! Going to an expo such as this needs a fair bit of preparations. For the last couple of expos we've been to, we've used a special build of the game, which only allows you to play until the end of the trials (basically where the demo ends, if you have tried it). That's not the only thing that's special with the build though!


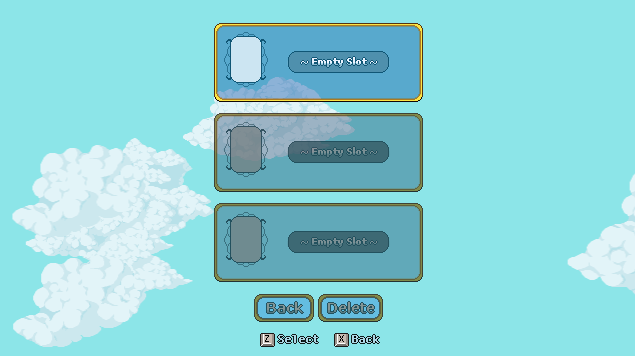
In our expo build, characters aren't saved. We added this feature because we faced an issue where people didn't dare delete an old character when all slots were filled, but started playing on one that already existed instead. That, of course, meant that they had no idea what they were doing, as they jumped straight into the action without even knowing which buttons to use! It also meant we had to spend a lot of time deleting characters so there always would be free slots open..


The expo build also resets back to the main menu if no key is being pressed for a while. We added this since a lot of people, once they're done, simply get up and leave, instead of going back to the main menu first - again confusing people wanting to try the game, who then jump straight into where someone else left off.


This time around we've added another feature, addressing a problem we've been having with the game at expo's ever since the beginning. You see, when someone plays the game, people tend to get really interested, looking over their shoulder to see what the game looks like. If they like what they see, they usually end up trying it themselves. However, when nobody is playing, all you see is a main menu and a bunch of clouds. That doesn't exactly let you know what kind of game it is, and it leaves people uninterested or too intimidated to try it out.

So basically: when someone is already playing, people get interested and want to play, creating a queue. If nobody is playing, it's kinda hard to get the ball rolling in the first place.

Previously we've solved this by having someone we know play the game until someone else comes along, but it's not always a viable solution and can feel pretty weird for those times when we only have 2 computers available - you're basically hogging 50% of the space for your own game, and a lot of people want to play in pairs.


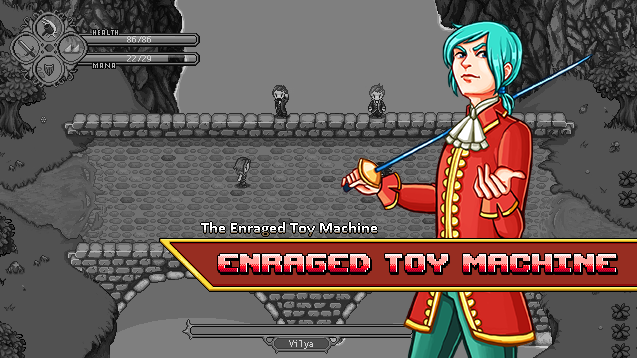
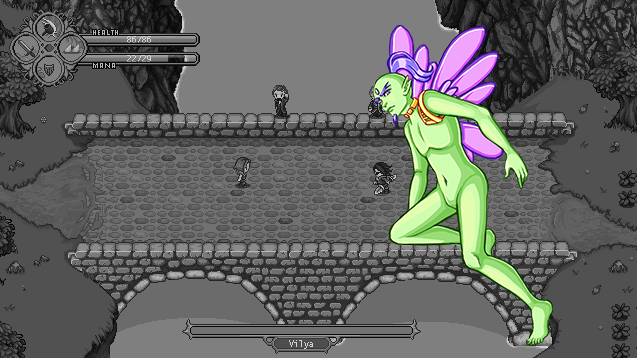
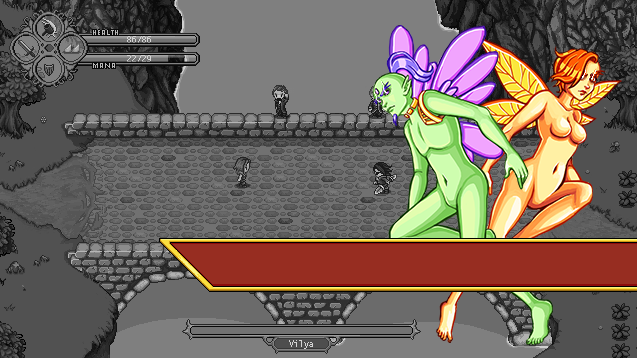
This time around, if nobody touches the game for a minute or so, video footage featuring in-game battles will automatically start playing with the text 'press any key' fading in and out on top of it. Our hope is that this will allow people to see what kind of game it is, and hopefully grab their interest so we don't have to deal with either an overcrowded booth or no crowd at all!

Wish us luck! ..and if you're attending Dreamhack Winter - go say hi to Fred for me :D
Yesterday when we left the hydras they looked like this:

Today I'm gonna add shades and highlights, tint the outline and finalize their portrait so it can be used within the game! For this portrait I won't be using a lot of shades: in fact I only use one shadow and one highlight for each color. Let's begin!
Autumn head shaded
Summer head shaded
Winter head shaded
After adding these shades, I go into each line art layer and lock them so I won't be able to paint anywhere else. Then I go over each hydra, adding softer outline colors. As you might be able to tell, I try to vary the outline shade a little, making it darker around the edges:

Finally, I import the portrait back into the boss template PSD, resize it to fit the screen, and add its titles: 


All done for now! :)

The Boss portrait madness continues! This time around, it's the hydra's turn to get its very own portrait :)

The Hydra's in-game sprite, made by Fred :)
This time around I start out in the mockup/template document I talked about in yesterday's post, and make a rough sketch of how I want the hydra's layout to be in the final image:


I then copy my sketch, import it into a new document, resize it so it becomes much bigger (the bigger it is, the easier it is to draw and add details), and start painting over it. Below I have started working on the autumn head:

Autumn head line art finished:

Summer head sketch:

Summer head line art finished:


Winter head sketch: 


Aand winter head line art finished: 

Finally, I start putting in some basic colors behind each line art, hide the original sketch layer and bring all the hydras out together:

Tomorrow I'll show the finished version, along with the titles!
Time to finish up this portrait! Both main components, the fae themselves, are done, so all we need to do now is to resize them, fit them together and add their titles.

To do this I use a template I have in one of my PSDs:


It's basically a mockup of what the boss intro screen looks like: there's the black & white tinted background on one layer, the boss portraits in another (I keep them all in a folder for size comparisons etc), and the boss title stuff, including notes on which fonts are used for each part of the title. 


Anyway! To start off I begin with adding the Summer Fae and resize him to fit the much smaller resolution of the in-game screen. Since the fae aren't as big as than regular humans, we decided that they should be a bit smaller compared to humans in the boss intro as well. 


Second step is to do the same with the autumn fae, and position them in a way that feels nice. 


Third, we thought it'd be nice to add some kind of possessed effect to them, since they're not exactly being themselves in this fight. This is a first try: I might remake this later on and try for something a bit more epic.. We'll see. 


Here they are in full size, with the bar where the boss title will appear!


Finally, adding the text. We haven't exactly decided whether to call them The Possessed Fae or The Possessed Elders, but I put fae for now. What do you guys think? Is there perhaps a third, better, alternative? Feel free to share your thoughts! :D
Time to make the second fae!

Just like last time, I start with a sketch, adding help lines where I feel like I need them..


When I clean the sketch up I try to make sure not all lines are equally thick: it helps to give depth to the picture. 


Color block time! I select the hues to use based off her in-game portrait, which I made a while back, before managing this blog. 


Adding basic shades: this time I use three different dark shades, and no highlight.


Finally, a bit of render on top of everything: smoothing out hard transitions between shades, as well as adding that highlight :) 

In the next step I'll put the two fae together and add the boss intro text! See you on Monday! :)
Time for something different, and a return to the Temple of Seasons, of sorts! One of the battles you'll be doing in there will be against two fae. And as such, they need a boss portrait! Because this is a bit more complex than the regular portraits, I'll divide this in a few parts so it doesn't become overwhelming.

In this first part, I'll be doing the first of the two fae! Let's begin with the basic sketch/line art:


When doing full-body stuff like this, I tend to select one or a few artworks or photography featuring similar poses to use as reference. Sometimes I also take my own, which results in me having a bunch of weird photographs featuring me and friends in silly poses doing weird things, haha!


Second step is cleanup, as seen above. I add more details, erase sketch lines and go over each part of the drawing, improving things one step at a time. 

Third part is color blocking. Here I also added some details I forgot about, such as his necklace and shoulder thingy!

After adding each block of color in single shades, I start adding shadows and light. I try to keep things pretty basic in this step, and don't use too many shades. Here there's only 4 shades of each color, the base value, two darker tones, and one for highlights. 

In the final step I go over the picture again, blending shades where I feel it's needed, adding details here and there, and a slightly brighter highlight. 

I can still improve a lot on this portrait, but as I will add another fae to the picture and probably shrink them by a lot to fit the in-game resolution, I'll save that for when I know exactly how small they will become and how much of the detail will be lost in the process!

As for his lack of male parts... Well, gotta keep it PG-13, right? ;) We haven't decided if we'll cover him up by either using some kind of clothing/gear, if we'll have a convenient bunch of leaves floating around that will cover those parts, of if we'll simply keep it the way it is now. What do you think?
With all talk about housing, I'm sure some of you are asking yourselves where this legendary house will be. It's time to find out:


There it is! Or... Well, there it will be. Let's remake this part of Evergrind City!


First, let's throw away that old house, and start anew. We want the entrance to the house to be upwards, so first of all we gotta turn things around and make a new path to the house:


When you first enter Evergrind City, this will just be a piece of lane, without any house. Your house will either be purchased or built through a quest, we haven't really decided on that part yet. Either case, below is what it'll look like until the house is in place: 


And here it is, with the house:


The house might look different from this once the game is done. We have talked about giving it a design that stands out more from the other houses, or perhaps let you choose a design of your own liking. Either way, that's lower priority stuff we'll do later on in that case! :)

OK guys! I think this will be the last furniture batch for a little while, as there are enough basic stuff to play around with right now, and we need to add some other things (such as the house itself)!

So this time around there are the other versions of that shelf from last batch, a bunch of couches and some paintings. Nothing too special, though it's the first time there's a couch in the game!


And as usual, here's the sprite versions: 


Next PostNewer Posts Previous PostOlder Posts Home