When we left the cave yesterday, it was about half done. Today I'm gonna finish what remains, but first, here's the map the way it looks currently, with the previous decorations added:


The things I'll add today are another one of those cavities with figurines, the relief featuring some spear-wielding human, as well as a bunch of decorations around the encampment at the top of the map. 

Take a look: 

More figurines~
Adding decorations around the camp!
A relief in the cave, with a spear-wielding human.
 Finally, here is what this cave looks like after adding the decorations:


See you next time!
Time to decorate another cave! This time there's some quite big areas that need to be decorated, so I'll split this post in two parts :) 


Above you can see the basics of the cave, that was completed quite a while back. I've added floors, walls, doors, some very basic greenery and a few cave dweller-props that are basically variations of the Frostling camp items from Seasonne!

The first step I'll take is randomly sketching whatever I think would be cool:


Secondly, I add whatever decorative props already exist or that I can tweak to fit the cave:


Now that all of that is in place, it's time to start rendering the unique props that haven't appeared anywhere yet:

Decorations around a mysterious closed doorway
Some vines on the cave floor!
A few of those figurines again :)
Next time I'll decorate the cave dweller settlement seen in the first screens, as well as the stone reliefs on the cave wall! See you then :)
Time for another one of those Mt: Bloom cards! This time it's of some green, worm-like creature that I'll for now call a Caterpillar!

The preview of what the enemy sprite will look like in the game can be seen in this old weekly recap :)


Sketch!
Line art
Color blocking :)
Adding some lights!

Details & Background

Shrunk to its in-game size!

Aside from doing cards for Mt:Bloom, I've also been spending some time decorating the caves. The first one was pretty much already finished, which left me with the one in this post and one more.  

Basic Cave

Above is the undecorated version of the cave. I've added the basics: walls, floors, water and some moss, but other than that, this area is pretty empty. 

Sketching away!

In order to get the creative juices flowing, I simply start sketching about on a layer on top of everything, adding whatever things I feel would be cool. At this stage I don't care too much about what they will actually look like in the end, but simply add stuff randomly. 

Adding what's already been made!

Since I've already made a bunch of props for this cave system, I reuse whatever I can in order to save time. In this case the things I reuse are mainly bushes, crystals, and mushrooms - the tiny detail stuff. The difficult part is rendering the unique items that will only appear in this cave, as well as things that haven't been made yet. 

Here's a bunch of before and after shots, showing how I've taken the sketches into finished decorations:

Rocks on the water
A stone face through which water will stream
Some of the tiny figurines that will be found within the cave

A relief showing a female and a rabby

Finally, here we have the cave in its finished version, after everything's been rendered and finalized:


Time for another Mt:Bloom card, this time of the Mushroom! If you're unfamiliar with what it looks like, it might be time to revisit this old weekly recap :)

As usual, I begin with a quick sketch!

After that, I enlarge the sketch and paint line art on top of it!

Putting in some flat colors underneath the line art :)

Adding shades and changing the line art colors

Adding background textures...

... and here's the finished card! :D

Today we had a meeting where we discussed the area I showed you a sneak-peek concept of yesterday. It's basically a desert/wasteland type of field where you'll find mostly dunes, rocks, dead things and cacti!

Fred and I made a couple of sketches, and we all discussed what decorations, events and quests we'd like to see in this area. After a while, we came up with enough ideas and sketches that it was time to translate them into basic digital sketches that we could run around in with our SoG characters. 

You can see the first three variations of the area below: 


Map 01 - Entrance

Map 02

Map 03 - WIP
We were the most happy with the first one, and also thought the size of it came out great for just winging it once. The other two, however, needed some adjustments. 

Map 02 felt a bit too tiny, so we wanted to increase its size to avoid any feelings of claustrophobia. Map 03, which isn't completely finished - the left side will contain a puzzle/obstacle of some sort that we need to prototype - also suffered from being a bit too tiny, so we increased the size of it as well. 

Map 02 - Bigger version!

Map 03 - Bigger version!

Obviously everything is just vaguely sketched right now. In the end, the finished graphics won't match this 100% in terms of size or placement, but it's a good estimate. 

One thing we'll definitely change is the "temple" building in the top right of Map03, as we want it to be bigger. Another thing we want to add is more water, so you'll be able to find some desert-y fishes along your adventures! Exactly where isn't clear as of yet, but most likely it'll be in the open space of Map 03 or Map 02. 

Since all of this is in very early stages, I'll tell you more about side quests and those sorts of things once we have established them a bit more clearly - they're also pretty much in the sketch phase as of now. The main reason we're doing this is so that I can start getting the basics of the area in place while Fred and Teddy work with animations, implementations and bug fixing :) 

Next week, while I continue with this, I'll be blogging some stuff I've been working on for Mt:Bloom these last couple of weeks, including a bunch of cards and loads and loads of cave decorations.

See you then! :D
Sometimes you think you've completed something, but some testing and/or feedback shows you have to remake parts (or all) of it! This happened today with the obstacle course room that I showed you previously.

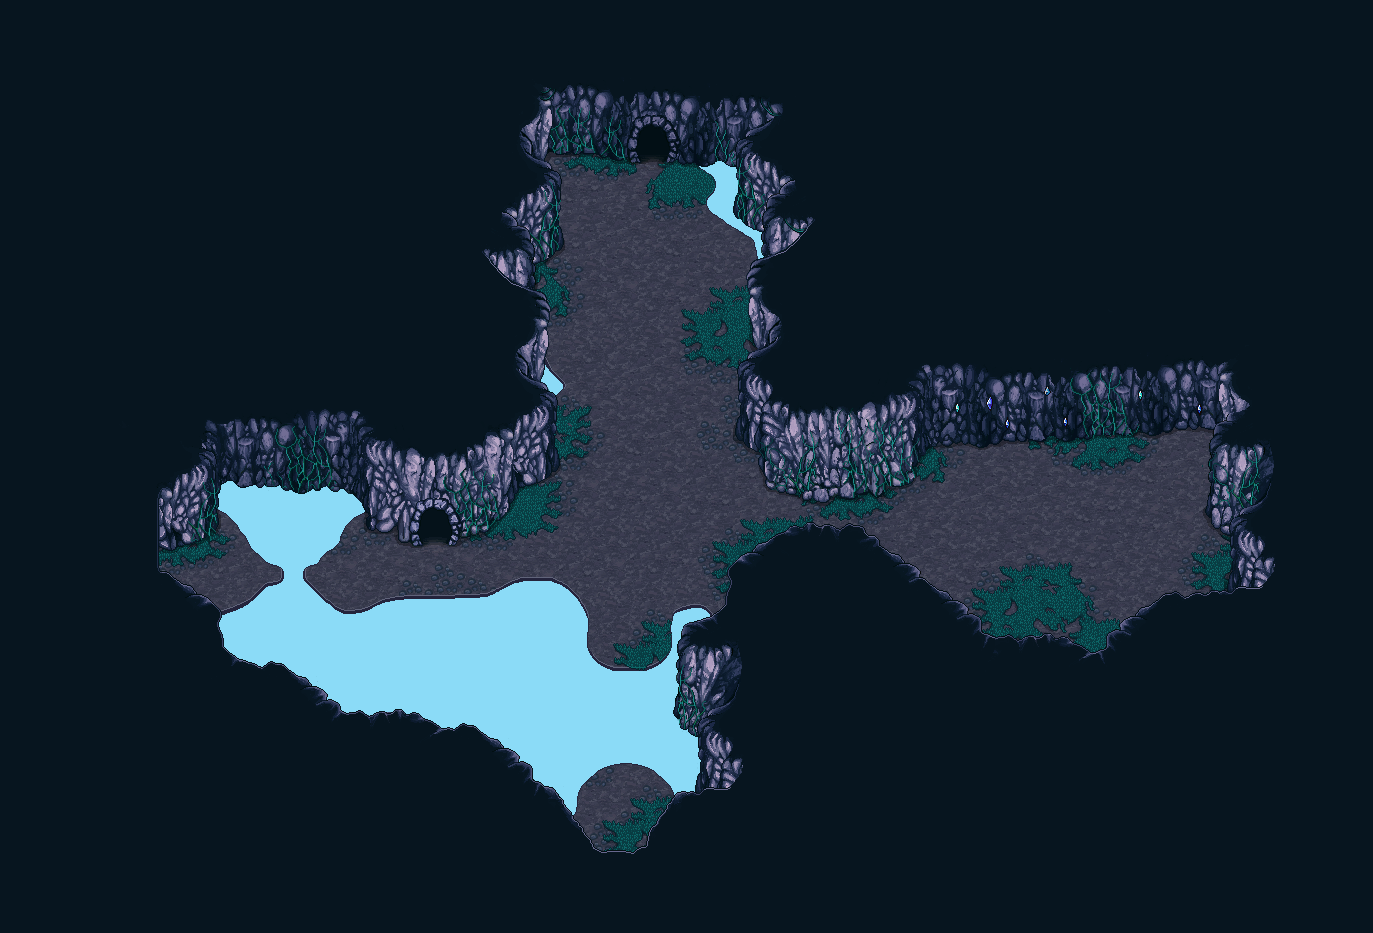
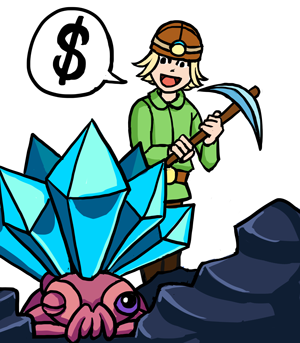
Here's what the entrance of the room originally looked like:


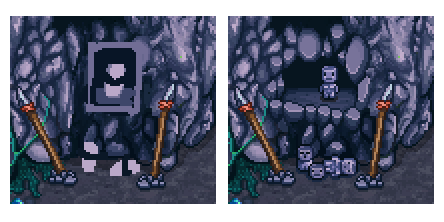
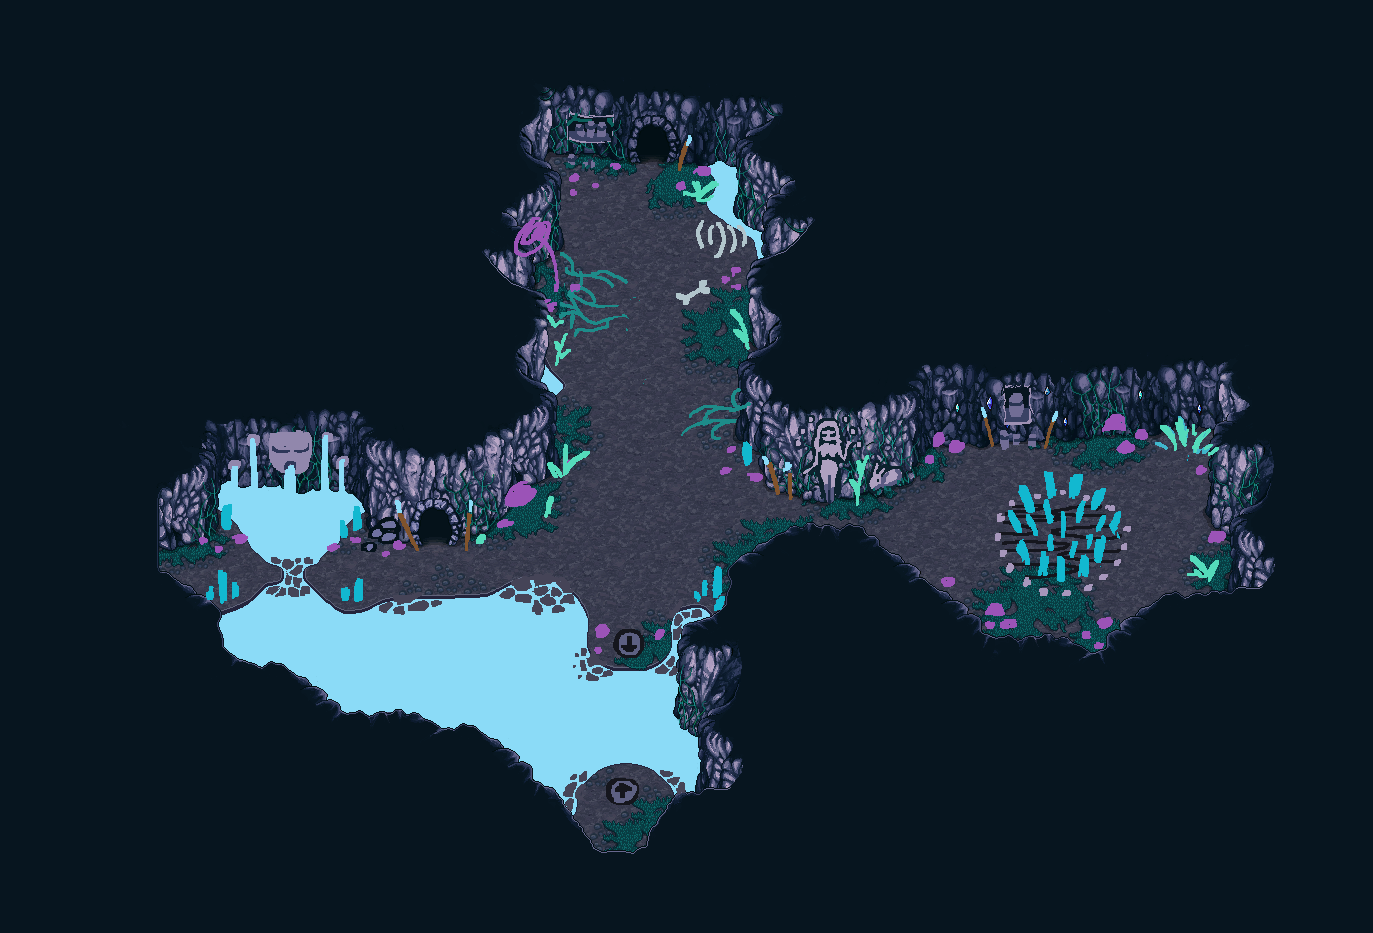
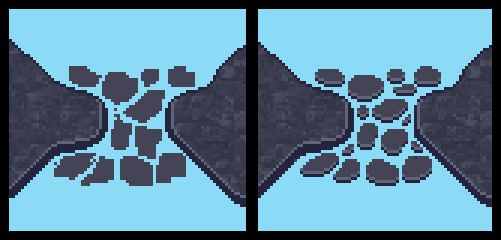
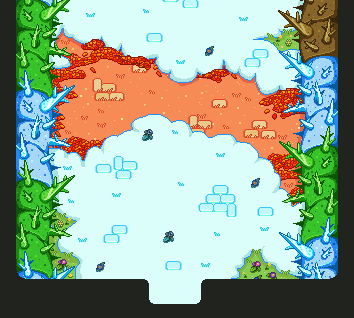
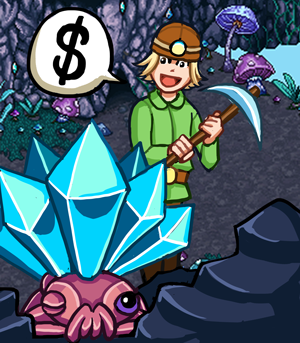
After some testing with the cutscenes and all graphics in place, we wanted to make some changes. For one, we wanted the room to have less winter and more of the other seasons. We also wanted the thorn-thingies on each side of the room to appear after you enter, so they had to be removed and inserted through a cutscene instead:


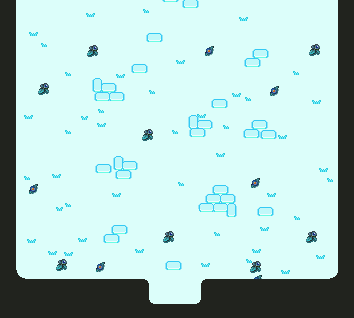
We also thought it's be cool if the room was winter to begin with, then having it change into a room of all seasons through magical means, so I did a version of it that's entirely winter, as well:


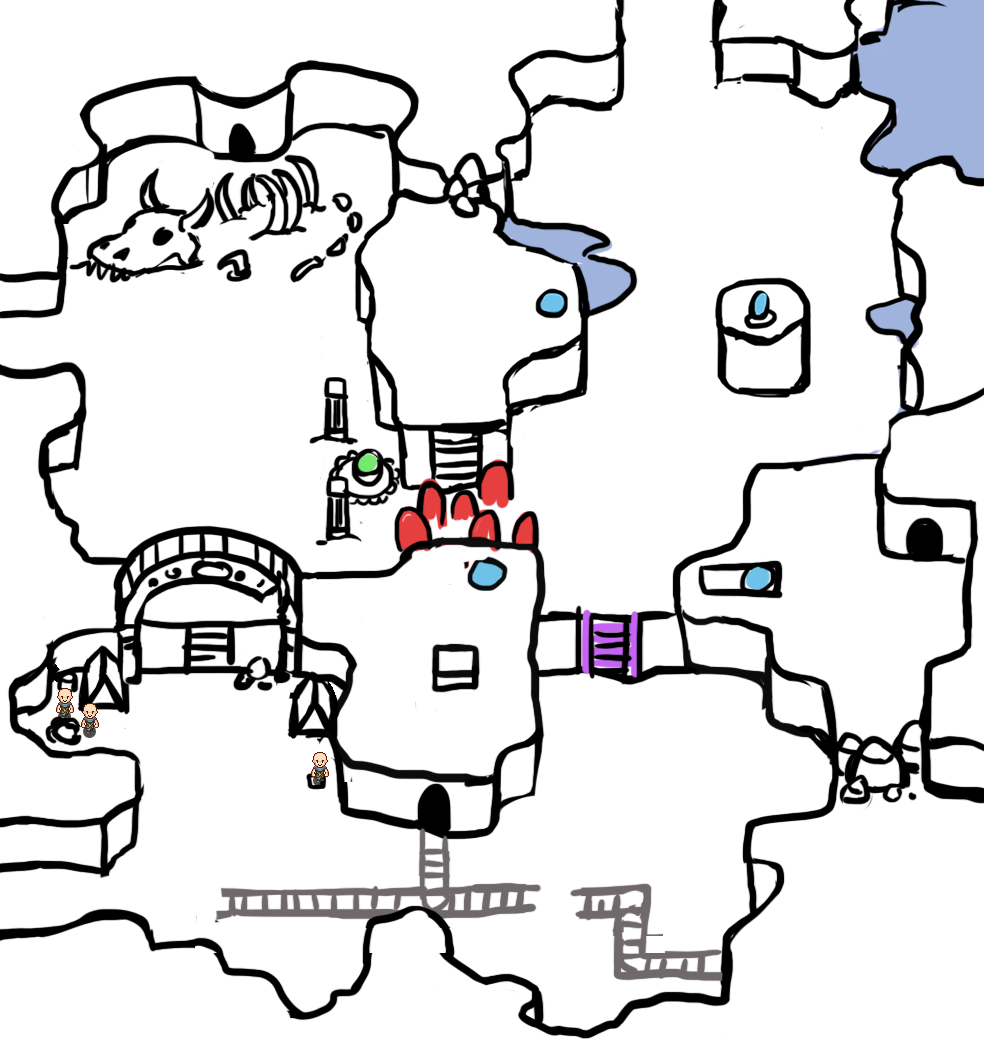
I've also been adding some decorations to the top part of the dungeon, on the walls, as can be seen here:

First version, no decorations

Decorations added!
In other news, we had a bit of a meeting today where we discussed what kind of items would drop in the dungeon. 

We agreed on that each of the enemies will drop their own hat, so that'll be a total of six hats to find in the dungeon! You're also gonna be able to find the hammer, spear and sword that the knights wield, and a bunch of other things (some which will be crafted). Here you can see a bunch of those drops: 


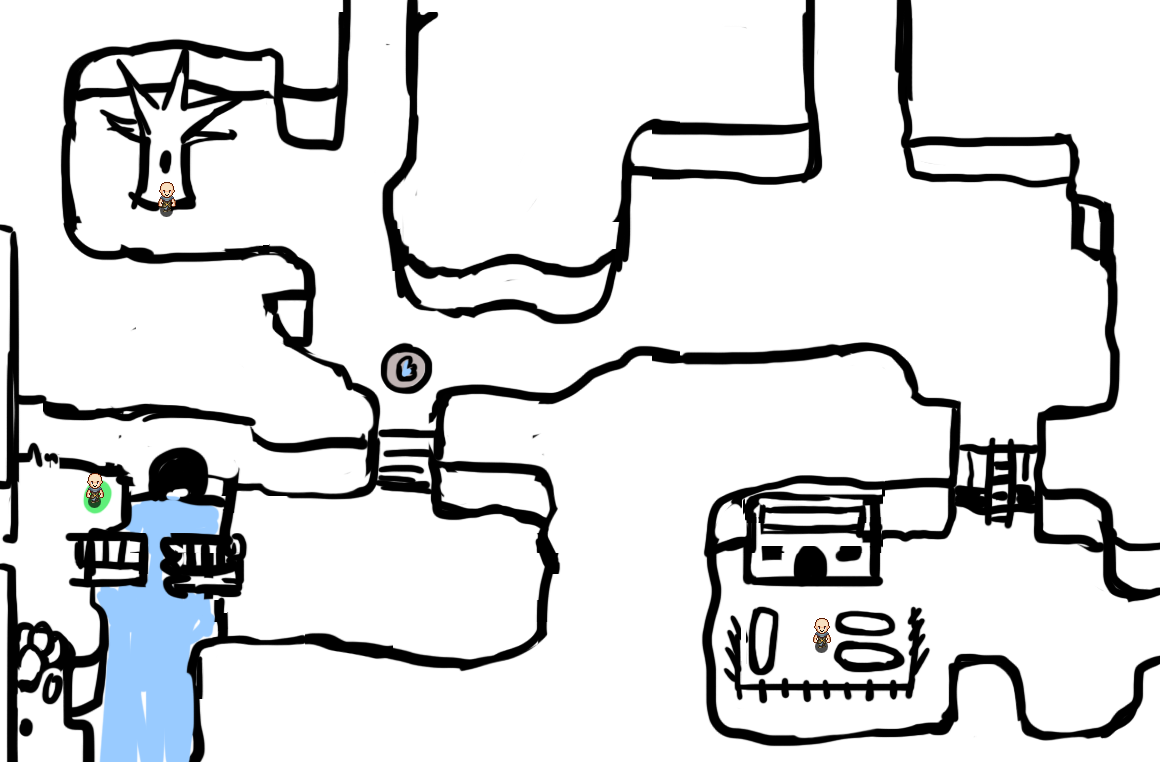
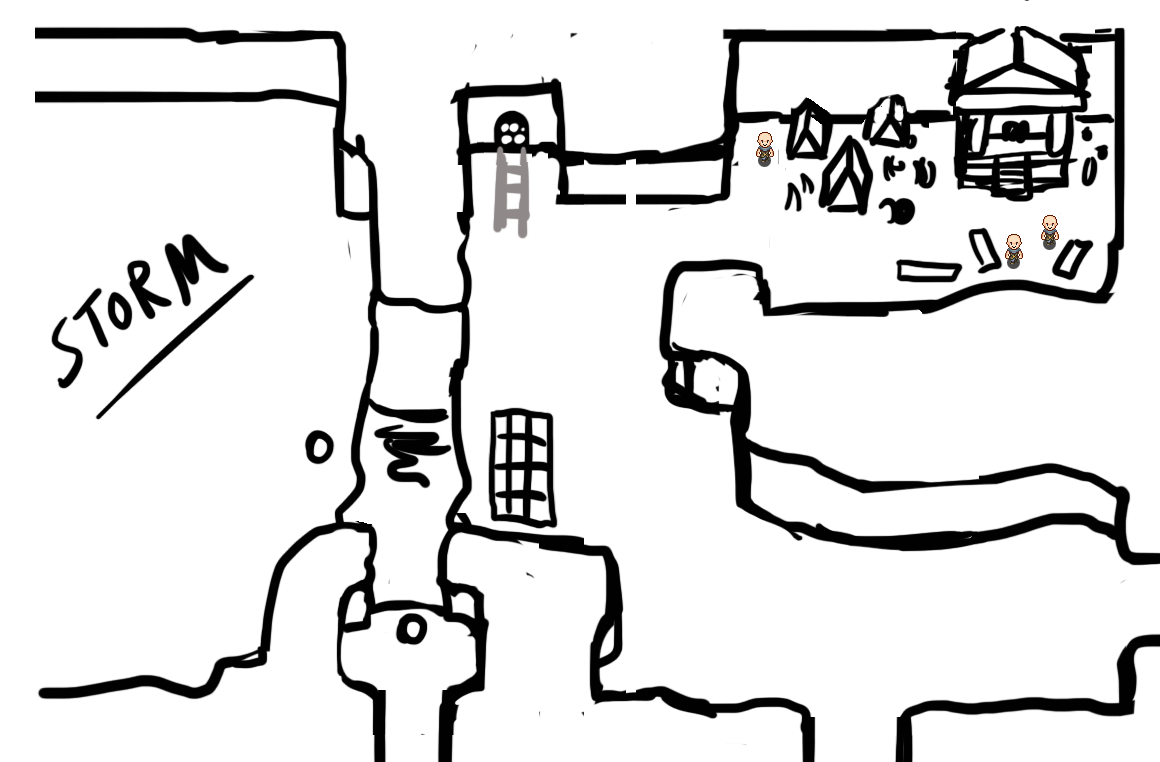
Since my part in making the Season Change temple is more or less done, we've started talking about what we'll do next. I'm quite a bit ahead of Teddy & Fred at this point since there's still a lot of animations that need to be made and implemented, so I've started sketching around making super basic concepts of another area, the one that will appear before the fourth (out of five!) temple.


Obviously what you see above is just some fooling around with colors and what kind of props we'd use, but basically we're thinking about making some kind of desert area, with some sort of twist.

That will, however, be a discussion we'll have tomorrow! Stay tuned and I'll let you know what we decide on (and feel free to share any ideas you might have in the comments) :D
Quite a while back, we made the enemies for the next area, Mt:Bloom. Today I started making one of their cards, because why not? The enemy in question doesn't have a name yet, but I like to call it the 'Spinsect', cause it spins when it attacks while also looking like an insect...! Yeah!

If you're curious about what it looks like, some of its animations can be viewed in this very old weekly recap!

Sketching away..!

Creating line art!

Color blocking... :)

Adding a bunch of shades!

Adding a simple background to establish where things are happening

Aaand the card is done!

Next PostNewer Posts Previous PostOlder Posts Home